Purpose
This article reviews the steps needed to create a new menu set.
Add a Menu Set
To add a Menu Set, complete the following steps:
- Log in as a VaultAccess user to VisualVault.
- Hover over the user information in the upper right-hand corner of the window and select Control Panel.

- Select the Admin Tools tab.

- Select Menus.

- Use the Add Menu Set button which will open a new window.

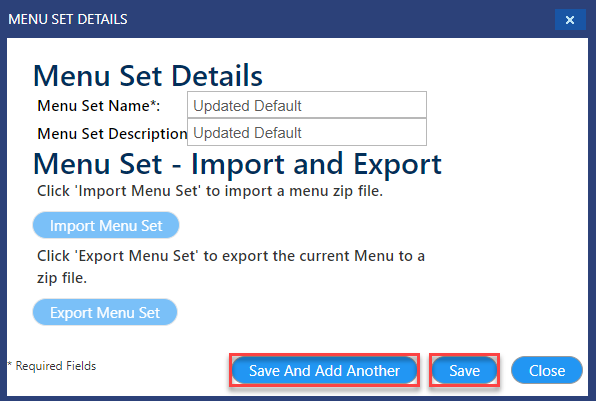
- In the window that appears, enter the Menu Set Name and Menu Set Description.

- Once finished, use one of the two save buttons:
- Save And Add Another: This can be used if multiple menus need to be created.
- This will save the previous information entered and reset the screen so new menu information can be entered.
- Save: This will save and close the current window.
- Save And Add Another: This can be used if multiple menus need to be created.